- Why flat concrete roofs leak in Sri Lanka
- The 6 most common causes of roof leaks
- How to identify where the leak is actually coming from
- Why temporary fixes always fail
- The permanent fix — step by step
- Which waterproofing system to use
- What it costs in Sri Lanka
- Real projects in Sri Lanka
- Frequently asked questions
A leaking roof is one of the most common building problems in Sri Lanka — and one of the most frustrating, because it often keeps coming back after every attempt to fix it. The reason temporary repairs fail is almost always the same: the wrong product applied to the wrong place in the wrong way.
This guide explains the real causes of roof leaks in Sri Lanka, how to find where water is actually entering (which is rarely where the stain appears), and what a permanent fix actually looks like. If your roof has been leaking for more than one monsoon season, this is worth reading carefully before spending money on another repair that will not hold.
Why Flat Concrete Roofs Leak in Sri Lanka
Almost every building in Sri Lanka has a flat concrete roof slab. Unlike pitched roofs that shed water by gravity, flat roofs must drain through outlets while remaining waterproof across their entire surface. This creates two challenges that do not exist with pitched roofs.
First, any water that cannot drain immediately sits on the surface. Sri Lanka's monsoon rainfall is intense — sustained heavy rain for hours or days can overwhelm drainage and create ponding conditions on flat roofs. Ponded water creates hydrostatic pressure that pushes down into every small crack, joint or defect in the surface. A roof that handles light rain perfectly will start leaking under sustained monsoon ponding.
Second, concrete moves. Every day, as temperature rises and falls, your roof slab expands slightly and contracts slightly. Over weeks and months and years, this thermal cycling creates micro-cracks. Reinforced concrete slabs also have construction joints, pour joints and penetration points that are inherently weaker than the solid concrete around them. Water finds these points.
💡 Key fact: In Sri Lanka's climate, an unprotected concrete slab will develop micro-cracks sufficient to allow water ingress within 3–7 years. This is not a construction defect — it is the normal behaviour of concrete under tropical conditions. The solution is a waterproofing system that accommodates this movement.
The 6 Most Common Causes of Roof Leaks in Sri Lanka
How to Identify Where the Leak Is Actually Coming From
The most important thing to understand about roof leaks is that the stain is not the source. Water that enters through a crack on one side of the roof can travel horizontally through screed or insulation and appear as a stain somewhere completely different below. This is why patch repairs so often fail — the patch goes over the stain, not over the actual entry point.
Finding the real source requires systematic investigation:
Step 1 — Check the drains first
Before anything else, go to the roof and check every drainage outlet. Clear any debris. Check whether the drains are set at the lowest point or whether the slab has settled and water is bypassing them. This is a 15-minute check that resolves the problem surprisingly often.
Step 2 — Inspect the slab surface
Walk the entire roof surface after it has dried. Look for cracks — even hairline cracks are visible if you look along the surface from a low angle. Pay particular attention to pipe penetrations, the junction with parapet walls, and any areas where the screed or tile has lifted or cracked.
Step 3 — Check the parapet wall junction
Run your hand along the base of the parapet wall where it meets the roof surface. If the waterproofing has not been turned up the wall correctly, or the upstand has failed, this junction will allow water entry that appears as a ceiling stain well away from the parapet itself.
Step 4 — Map the stains below against the slab above
Mark the location of every stain on the ceiling below, then measure to the same location on the slab above. The actual entry point is usually within 1–2 metres of the position directly above the stain — but can be further if water is running along reinforcement bars or through screed.
⚠️ Do not do a water test by hosing the roof unless you know the drainage is adequate. Deliberately ponding water on an already-leaking roof can send water to areas that were previously dry and create secondary damage. A professional waterproofing inspection should be done before any water testing.
Why Temporary Fixes Always Fail
Most temporary roof repairs in Sri Lanka involve one of three approaches: applying waterproof paint, applying bitumen felt or bitumen coating, or grouting visible cracks. All three fail for the same reason — they treat the symptom rather than the system.
Waterproof paint (including so-called waterproofing paints sold at hardware stores) has almost no elongation. When the concrete moves — which it will with every temperature change — the paint cracks. It also has very limited resistance to UV degradation in Sri Lanka's climate. A painted repair will typically hold for one monsoon season before failing.
Bitumen coatings and felt are better than paint but degrade under UV exposure and become brittle over time. The edges and laps are particularly vulnerable. Applied as a patch over an existing crack, bitumen does not address the underlying movement and will debond as the crack continues to move.
Cement grouting of cracks is appropriate only for static cracks. In Sri Lanka's climate, very few cracks are truly static — most continue to move slightly with temperature changes. Rigid grout applied to a moving crack will fail at the same location within one or two monsoon seasons.
🚨 The cost of repeated temporary repairs almost always exceeds the cost of doing it correctly once. We regularly inspect roofs where the owner has spent more on repeated temporary repairs over 5–8 years than a permanent waterproofing system would have cost when the leak first appeared.
The Permanent Fix — Step by Step
A permanent roof leak fix is not just about the material applied — it is about the complete process. Every step matters.
- Full investigation — identify all entry points, not just the visible one. A proper investigation includes the drain outlets, pipe penetrations, parapet junctions and the full slab surface.
- Substrate preparation — remove all loose, damaged or contaminated material. A waterproofing system cannot bond to a weak substrate. Any existing failed waterproofing must be removed or stabilised before new material is applied.
- Crack treatment — cracks wider than 0.3mm should be treated with PU injection before the waterproofing system is applied. This seals the crack and prevents it from reflecting through the new membrane.
- Prime the substrate — a primer improves adhesion between the concrete and the waterproofing system. This step is frequently skipped on cheaper jobs and is a common reason for premature delamination.
- Apply waterproofing across the FULL slab — not just the visible leak area. The entire roof surface must be treated as a single continuous waterproofing zone. Partial applications always fail at the edges of the repair.
- Treat all details — pipe penetrations, drain outlets and parapet junctions need specific detail treatment, usually with a reinforcing fabric embedded in the waterproofing at these points.
- Apply protection layer — if the roof is to be tiled or surfaced, a protection screed is applied over the membrane before the final finish. This protects the membrane from physical damage during and after construction.
- Test before closing up — a flood or hose test on the completed waterproofing (before the protection screed is applied) confirms the system is continuous and intact before it is covered.
Which Waterproofing System to Use for Sri Lanka Roofs
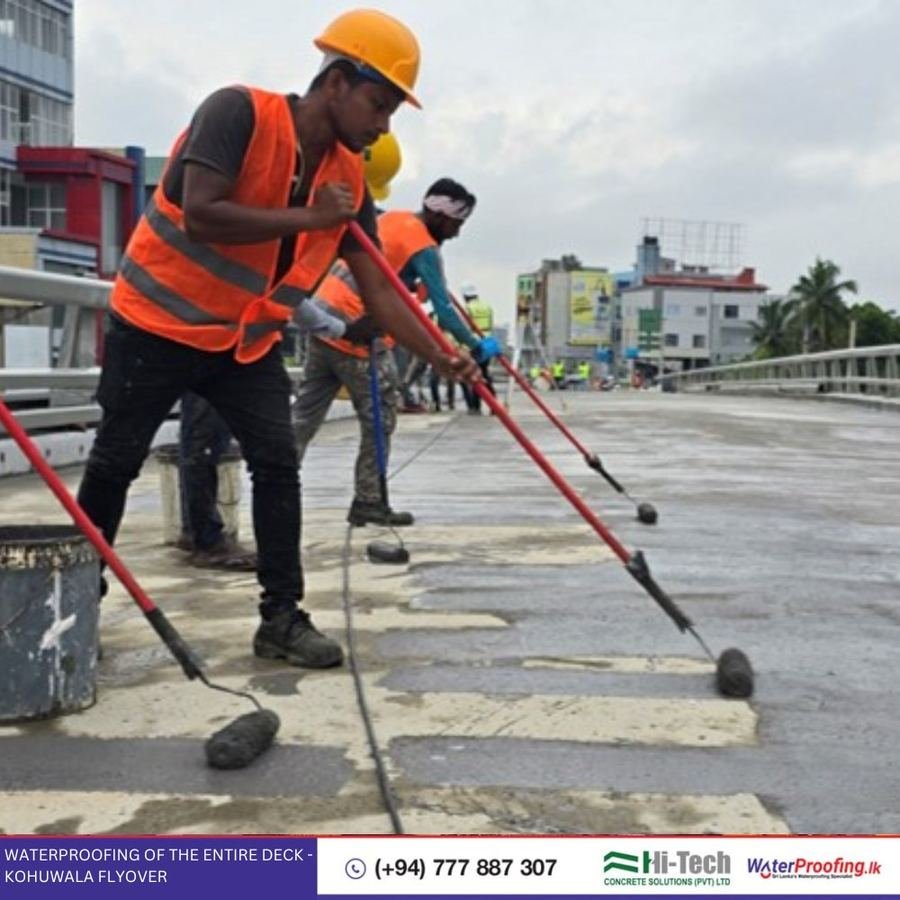
For most roof slab waterproofing situations in Sri Lanka, Supercrete Duraflex Ultra is the recommended system. It is the product we specify most frequently for roof waterproofing, for several reasons:
- High flexibility — Duraflex Ultra is titanium-modified, giving it exceptional elongation that handles crack movement and thermal cycling without the membrane cracking.
- Proven in Sri Lanka's climate — applied across hundreds of projects island-wide including government hospitals, luxury residential towers, and national infrastructure.
- Award-winning — won the Product Excellence Award at Architect Exhibition 2025, Sri Lanka's premier construction industry award.
- Directly tileable — compatible with tile adhesives, so it can be applied before the final floor finish without a separate topping coat.
- 2-component system — the polymer liquid component activates the cement powder to produce a high-performance membrane with better properties than single-component systems.
For exposed roofs (rooftop terraces or roofs without any topping material), Supercrete Duraproof PU 550 is specified instead — a polyurethane liquid membrane with superior UV resistance for surfaces left exposed to sunlight.
For roofs with active cracks, Supercrete Duraseal XP crystalline waterproofing can be used as a treatment of the concrete itself before the flexible membrane system is applied over the top. The crystalline system fills micro-cracks within the concrete structure, providing an additional layer of protection.
What Roof Waterproofing Costs in Sri Lanka
| Application | System | Cost Range |
|---|---|---|
| Roof slab — under screed or tiles | Duraflex Ultra (2-component) | Rs. 400–550/sqft |
| Exposed rooftop terrace | Duraproof PU 550 (PU membrane) | Rs. 500–650/sqft |
| Crack injection before waterproofing | PU injection | Rs. 800–1,500/m |
| Remedial roof repair (with screed removal) | Full system + reinstatement | Rs. 900–1,800/sqft |
| Parapet junction detail treatment | Included in system spec | Included |
📜 All costs are for certified professional application with a 10-year written warranty. Free site inspection and written quotation available island-wide. Contact us to arrange.
Real Projects in Sri Lanka — Roof Waterproofing at Scale
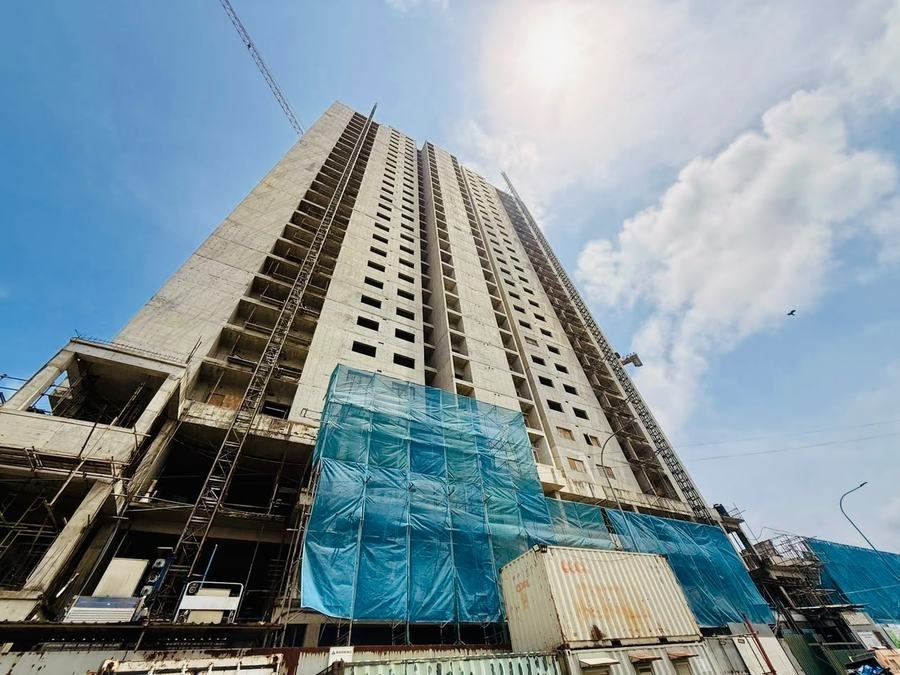
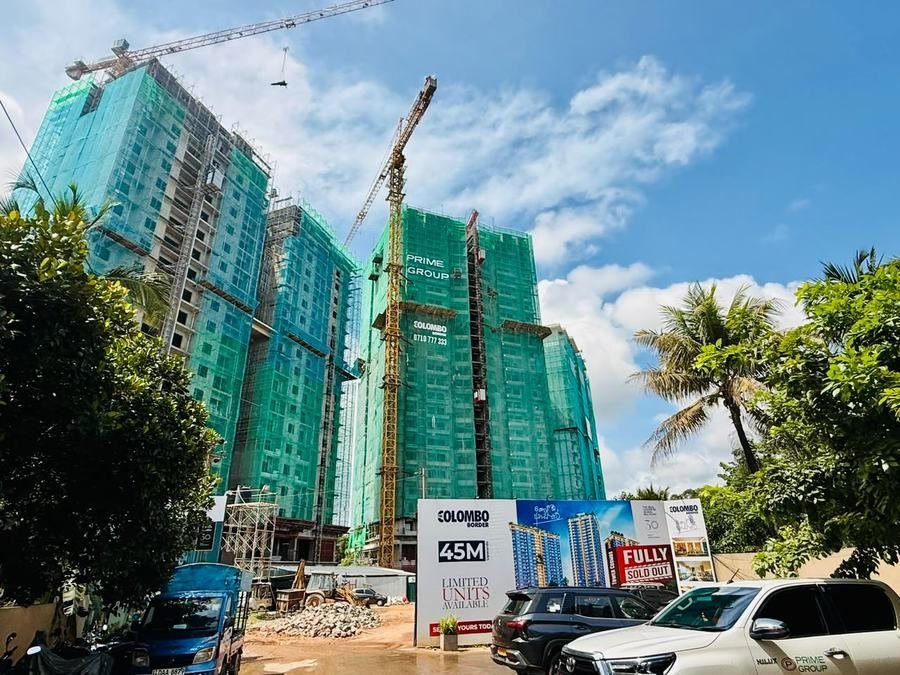
At residential scale, every apartment building we waterproof involves the same principle: the roof slab is treated as a single continuous waterproofing zone. Whether it is a 5-storey building or a 30-storey tower, the system specification is the same — the scale changes, but the method does not.
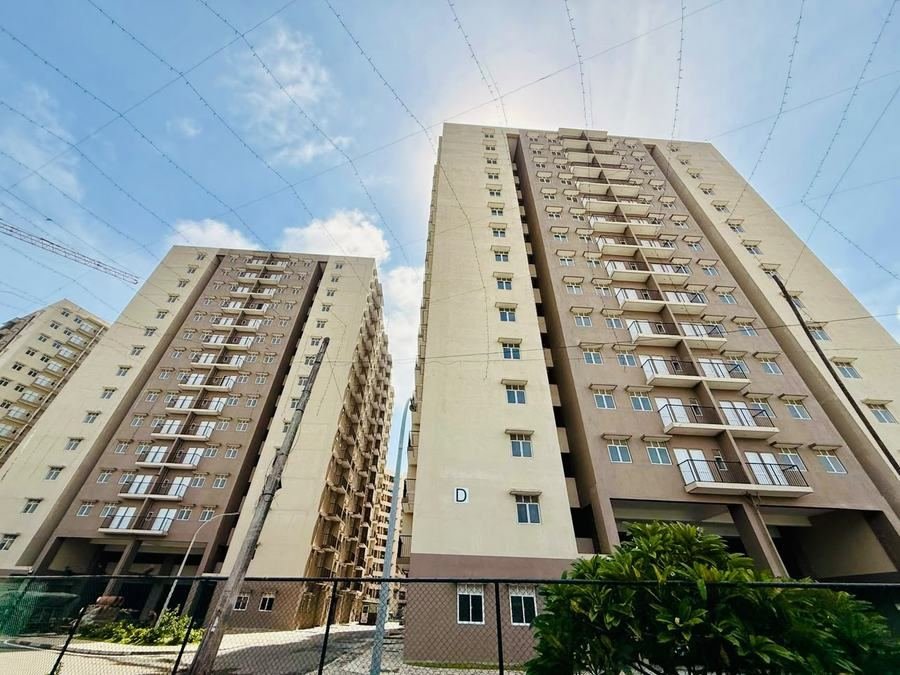
At the Stadium Gama UDA housing project, we waterproofed rooftops, balconies and wet areas across two full tower blocks. At this scale, the consequence of any waterproofing failure is disproportionate — a single failure point can affect multiple floors below. This is why certified systems with proper application sequence and testing before closing up are non-negotiable on government and large residential projects.
Frequently Asked Questions
Is Your Roof Leaking?
Don't wait for the next monsoon. Our certified specialists provide free site inspections — we identify every entry point, specify the right system, and fix it permanently with a 10-year written warranty.